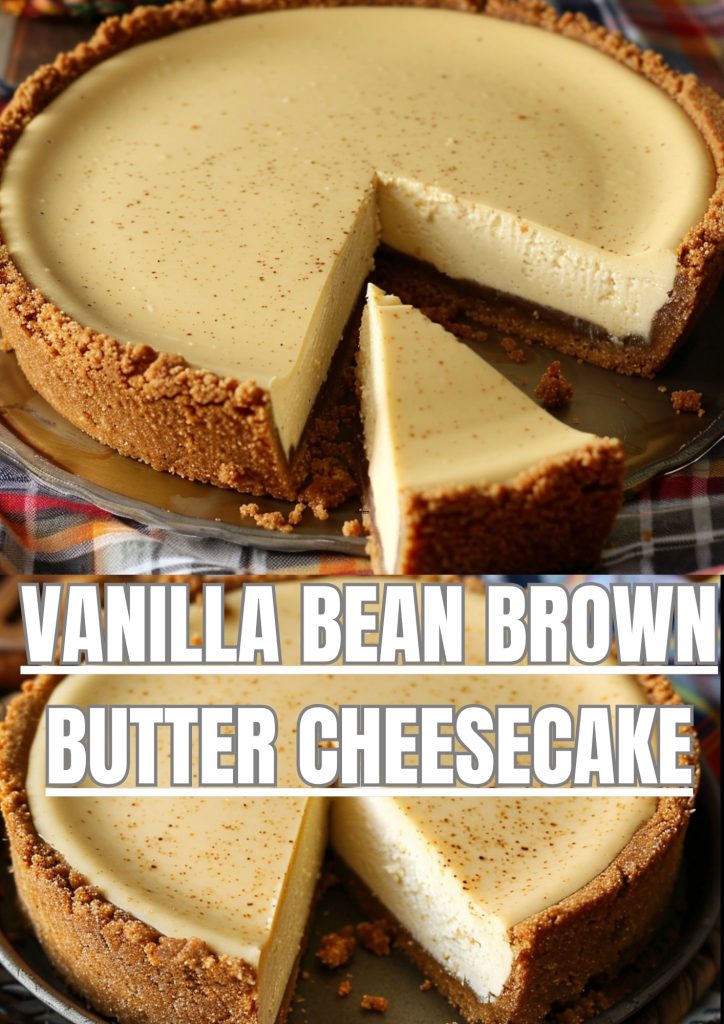
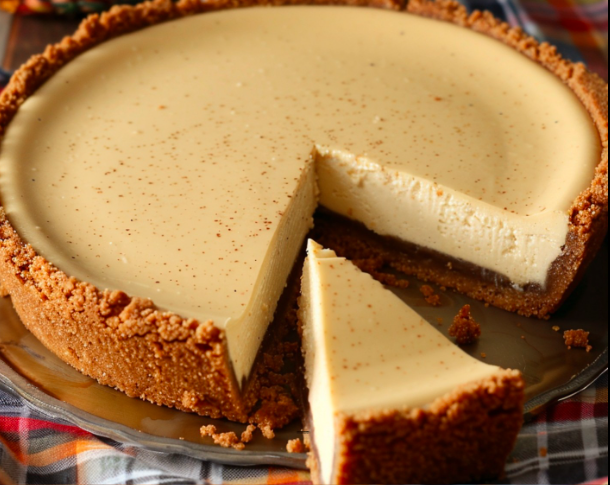
This Vanilla Bean Brown Butter Cheesecake is the ultimate indulgence for dessert lovers! The nutty, rich flavor of browned butter adds a sophisticated twist to a classic creamy cheesecake, while real vanilla bean paste brings out an intense, aromatic vanilla flavor. Perfect for special occasions or as a luxurious treat, this cheesecake pairs beautifully with fresh berries, fruit compote, or whipped cream. Follow the steps below to make this irresistible dessert.
Ingredients
For the Crust:
- 2 cups graham cracker crumbs
- 1/2 cup unsalted butter, melted and browned
- 1/4 cup granulated sugar
For the Cheesecake Filling:
- 32 oz (4 packages) cream cheese, softened
- 1 cup granulated sugar
- 1 cup sour cream
- 1/4 cup all-purpose flour
- 2 teaspoons vanilla bean paste (or seeds from 2 vanilla beans)
- 4 large eggs
Optional Toppings:
- Fresh berries or fruit compote
- Whipped cream
Instructions
Preheat Oven and Prepare Pan:
- Preheat your oven to 325°F (163°C).
- Grease a 9-inch springform pan and line the bottom with parchment paper.
Make the Crust:
- In a medium bowl, combine the graham cracker crumbs, granulated sugar, and browned butter.
- Mix until the crumbs are evenly moistened. Press the mixture into the bottom and slightly up the sides of the prepared springform pan.
- Bake the crust for 10 minutes, then remove it from the oven and let it cool.
Prepare the Filling:
- In a large mixing bowl, beat the softened cream cheese until smooth and creamy (about 2-3 minutes).
- Add the granulated sugar and mix until well combined.
- Beat in the sour cream, all-purpose flour, and vanilla bean paste (or seeds).
- Add the eggs one at a time, mixing on low speed just until combined after each addition. Do not overmix.
Assemble and Bake:
- Pour the cheesecake filling over the cooled crust, spreading it evenly.
- Place the springform pan on a baking sheet to catch any drips. Bake in the preheated oven for 55-65 minutes, or until the center is almost set but still slightly jiggly.
- Turn off the oven, crack the oven door, and let the cheesecake cool inside for 1 hour.
Cool and Chill:
- Remove the cheesecake from the oven and let it cool completely at room temperature.
- Once cooled, refrigerate for at least 4 hours or overnight to fully set.
Serve:
- Carefully remove the sides of the springform pan before serving.
- Top with fresh berries, fruit compote, or whipped cream if desired.
- Slice and enjoy!
Notes:
- Browning the Butter: To brown the butter, melt it in a saucepan over medium heat. Swirl occasionally until the butter turns golden brown and has a nutty aroma, then remove from heat immediately to avoid burning.
- Room Temperature Ingredients: Make sure all your ingredients, especially the cream cheese, eggs, and sour cream, are at room temperature before mixing. This helps ensure a smooth texture and prevents cracks in the cheesecake.
- Don’t Overmix: Avoid overmixing the batter to prevent incorporating too much air, which can cause cracks during baking.
FAQs
Can I use vanilla extract instead of vanilla bean paste?
- Yes! If you don’t have vanilla bean paste, you can substitute it with 2 teaspoons of pure vanilla extract. However, the vanilla bean paste gives a more intense flavor and those lovely speckles throughout the cheesecake.
How do I prevent my cheesecake from cracking?
- Ensure all ingredients are at room temperature and avoid overmixing the batter. Letting the cheesecake cool slowly in the oven after baking also helps prevent cracks.
Can I freeze this cheesecake?
- Yes, you can freeze the cheesecake. Once it has fully set in the fridge, wrap it tightly in plastic wrap and foil, then freeze for up to 2 months. Thaw overnight in the refrigerator before serving.
Conclusion
This Vanilla Bean Brown Butter Cheesecake is a decadent and creamy dessert, perfect for impressing guests or treating yourself. The rich flavors of browned butter combined with vanilla beans take this cheesecake to the next level, and with the option to top it with fresh berries or whipped cream, it’s a dessert you’ll want to make again and again. Happy baking!